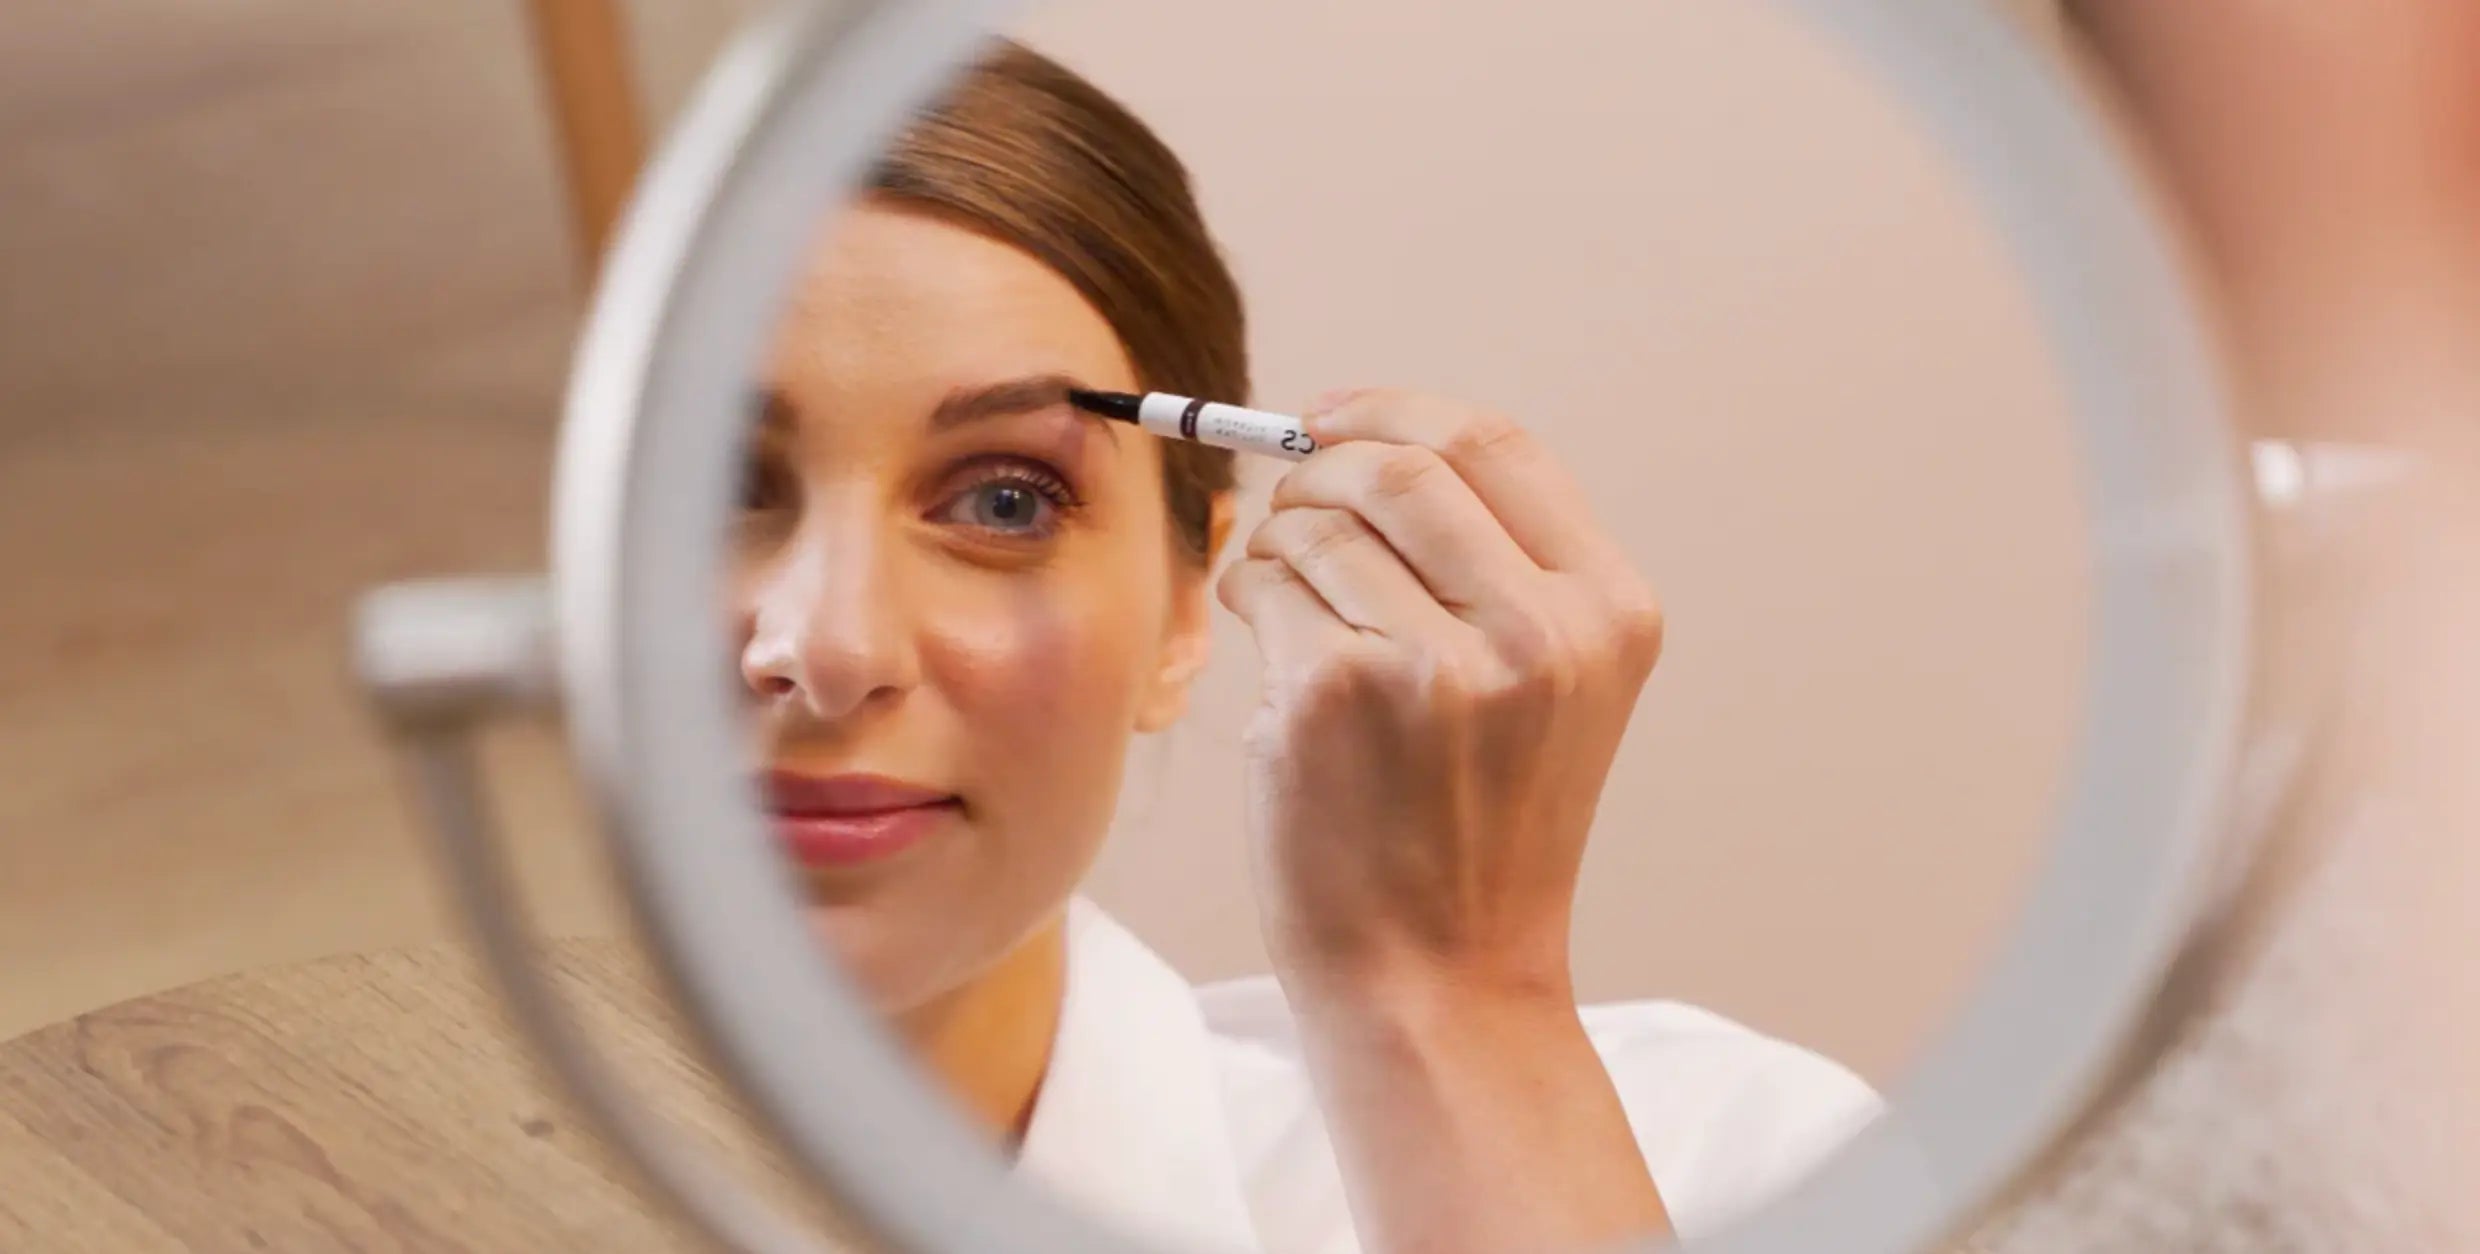
If you have been using our Lash Lift Kit and have been following our lash tips all along, then we believe that your lashes are looking mighty fine! And now that it’s all set to go, it’s your eyebrows’ turn to get that lift. Yes, you read that right! Did you know that our ForChics Lash Lift Kit doubles as an eyebrow lamination kit? Can you believe it? That’s $40 in savings!
Lash lifts are very popular if you want to enhance the appearance of your eyelashes. The lashes are lifted and secured in place, giving them a natural curl and smooth look.
Laminating your brows does the same thing. It is a beauty technique that allows you to position every strand of your eyebrow hair in a way to give you full, fluffy, and on-point brows. And now it is easy to do at home and it does not require expensive salons or professional help.

If you don't have the time to groom and fix your unruly bushy brows everyday, then this is for you. And if your eyebrows are thinning and you need to reposition them so that they look fuller, use this kit even then. It’s the solution to most of your brow problems.
Now, let’s move on to the fun part! The brow lamination process.
Basically, you just need to do the same process, but now on your brows. Don't forget to do a patch test first and make sure that it is safe for your skin.
1. Trim and tweeze
Before laminating those brows, it’s better to shape them first by plucking rogue strands and trimming as desired.
2. Apply the cleanser
To remove any dirt and oil, clean the eyebrows and the surrounding skin with the Cleanser or even with a gentle make-up remover. Make sure that the area is completely dry after.
3. Apply the adhesive
Place a good amount of the Glue on your brows. Use a spoolie to spread the glue evenly and to brush your brow hairs upward or to the shape you desire. Do one brow at a time, so that the glue doesn't dry out. Make sure that each strand is stuck down. Wait and let the adhesive settle.
4. Apply the perm lotion
Using a q-tip, apply the lotion on the base of your brow hairs. Start at the bottom from one end and then make your way to the other. Cover the eyebrows with a cling film and gently press-stretch from both ends to make sure that the lotion enters the follicles. Wait for 10 to 12 minutes and then remove the cling film slowly.
5. Apply the fix lotion
Remove the Perm Lotion with a q-tip and repeat step #4 with the Fix Lotion. Cover the eyebrows with a cling film and leave on for 10 minutes.
6. Clean the eyebrows
Now that your brows have been shaped, lifted, and secured, it’s time to clean them. Using the Cleanser and a dry cotton ball, thoroughly clean your eyebrows.
7. Apply nourishing lotion
Once cleansed, apply the Nourishing Lotion on your brows and comb the hair. You will see that the hair moves and settles easily when the comb is swept through. This is because of the perm and fix lotions that give your brows a firm and secured look, but with a soft finish.
Your eyebrows are now ready to take on the world! We suggest that you continue using our ForChics Eyebrow Growth Serum to maintain hair growth and nourishment. For an overall full, tinted brows, you may want to finish your look with our Eyebrow Fill Pen when going out ;)


