We think our ForBrow Eyebrow Fill Pen needs another spotlight. Since we’ve given you a rundown on how to maintain perfectly curved brows, we’re now here to help you with the small details. Face it, following make-up tutorials isn’t actually easy.
And we are with you when we say we need a step-by-step to some of the basics – filling in those brows! Yes? Let’s do it!
Step 1: Brush and Outline The Brows
For the most natural-looking eyebrows, use a spoolie to brush your brow hairs up to see where you need to fill it in. Then with a brow pencil, lightly outline the outer edges of each brow and follow the natural shape of your eyebrows.
Step 2: Fill In The Brows
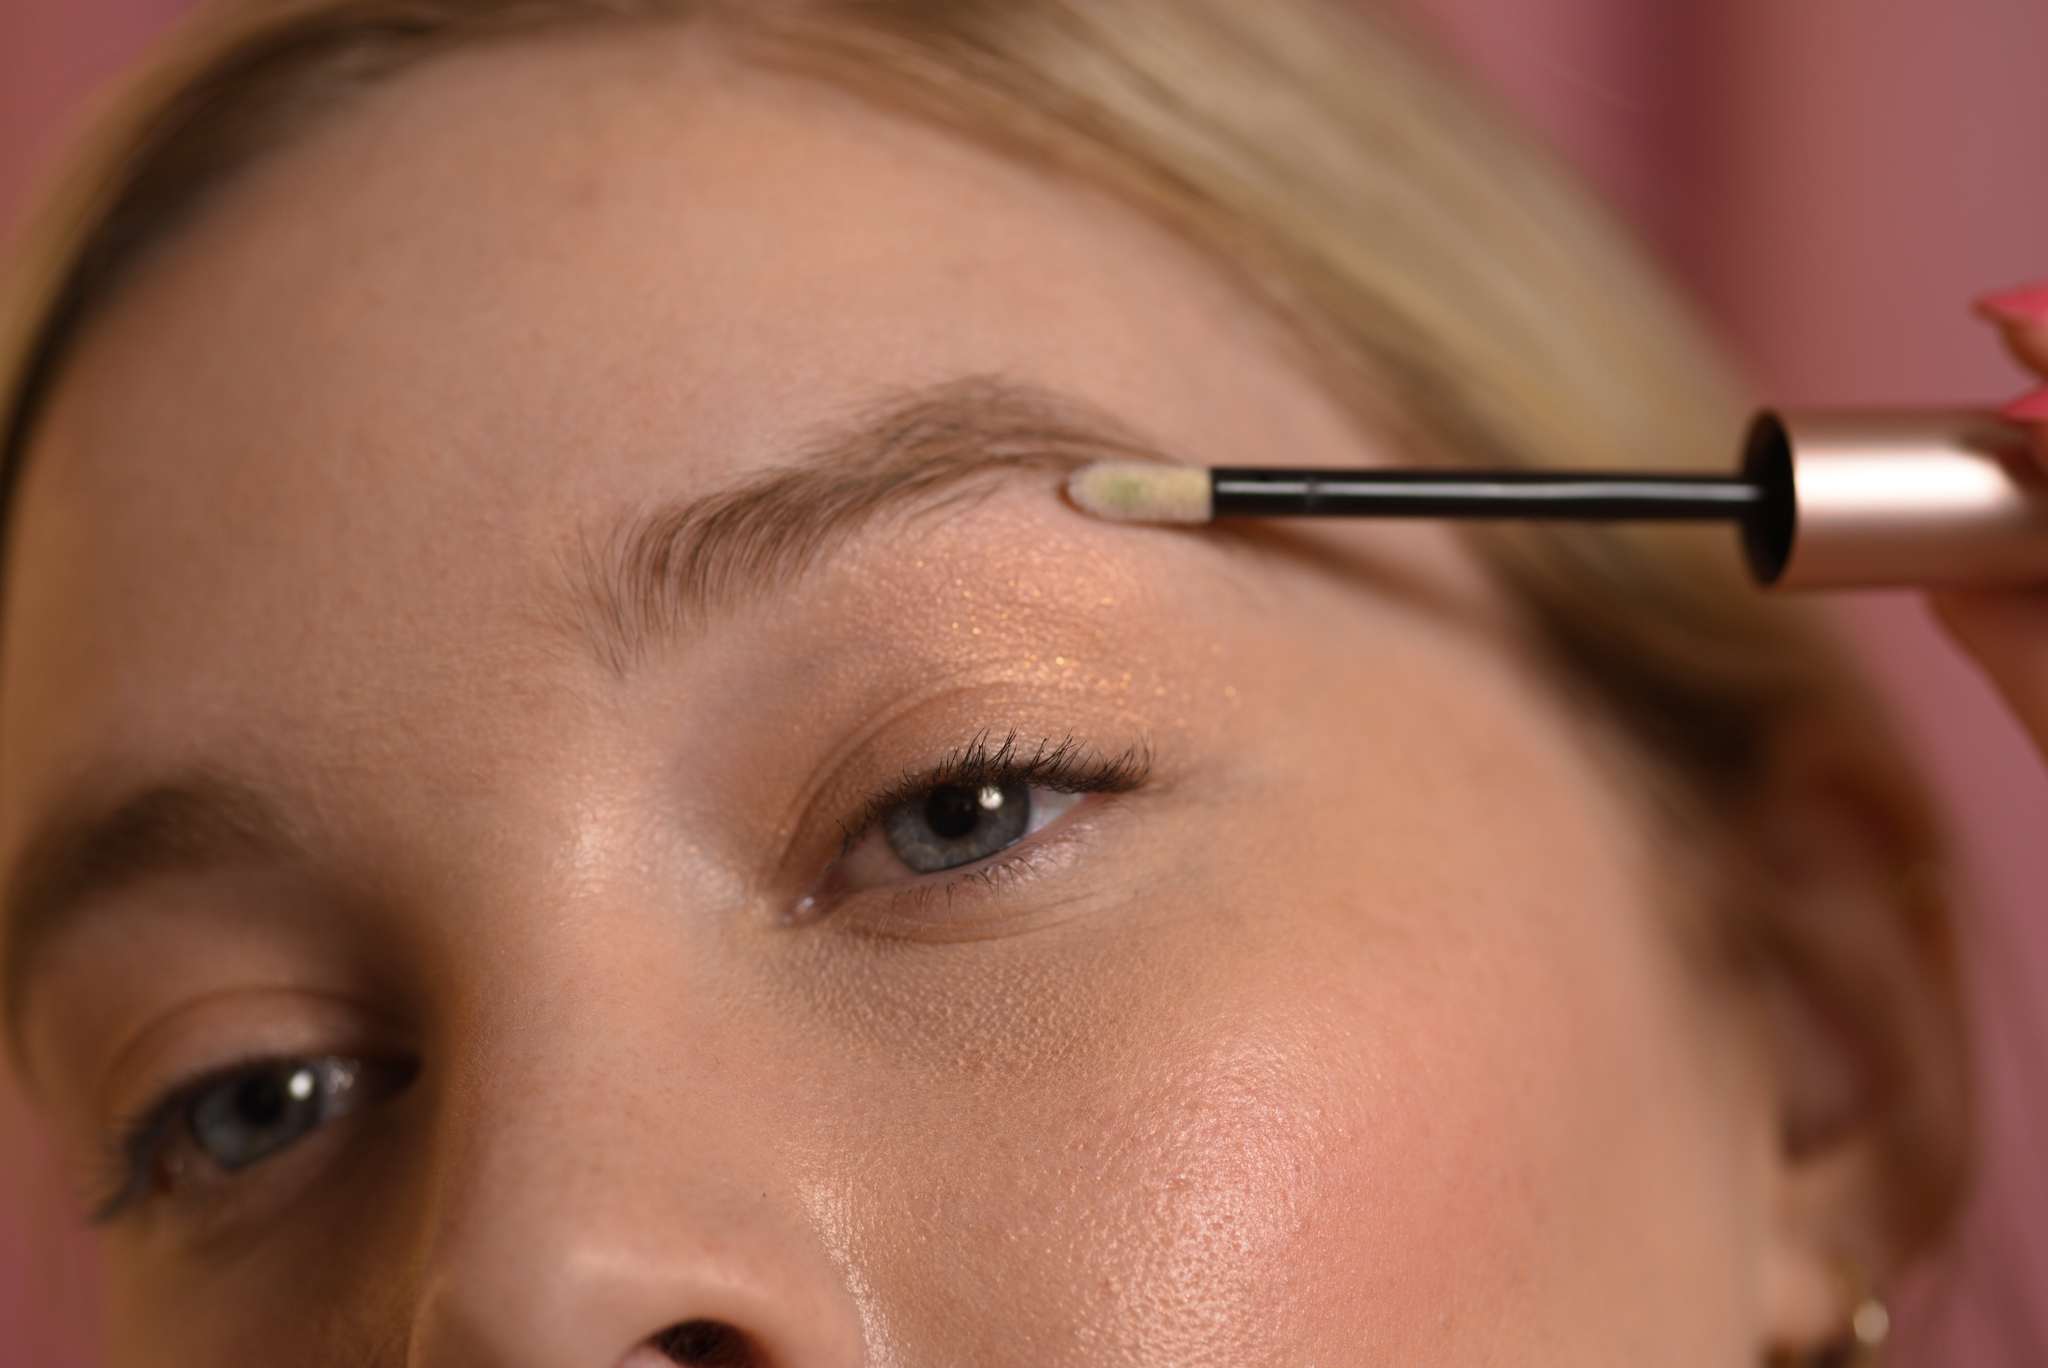
Time to fill in those brows with Fill Pen! Starting at the base of the inner brows, create light, short strokes that mimic hair growth to fill in the brows. You can double the application to fill in the outer brows to make it a bit darker. This will create the most natural look.

Step 3: Blend
Using a spoolie, you can brush upwards and outwards through the brow once more to gently blend the color and make it look more natural. You can also use our Total Control Styling Stick to hold your perfectly filled brows in place.
Step 4: Clean Up Edges
For clean edges, trace the outline of your brows with a concealer and blend well.  Brows are a great way to frame your face and can be the trick that makes all the difference. They should be groomed and shaped to flatter your features.